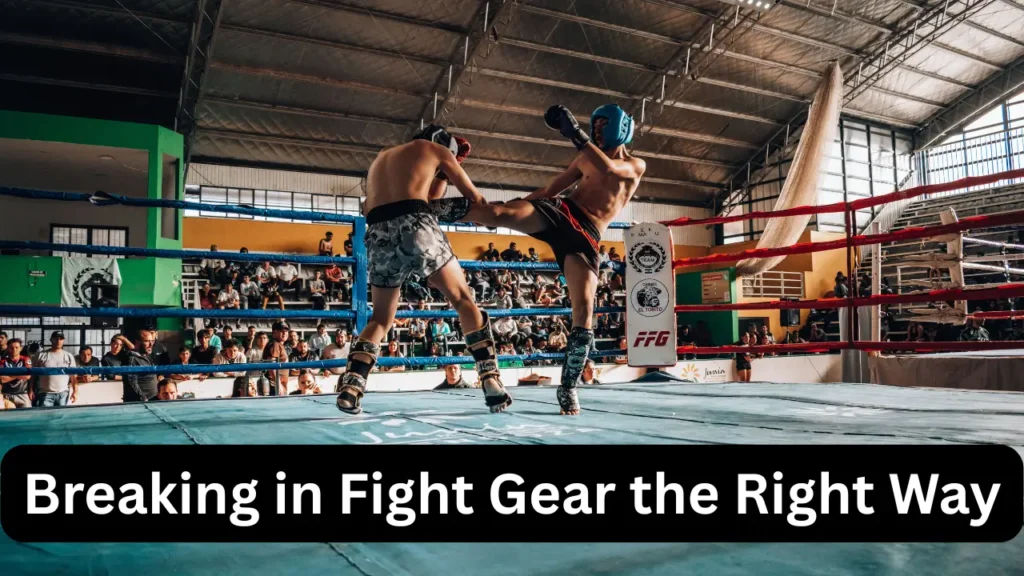
New fight gear arrives and the excitement is real. The leather smells fresh. The padding feels plush. The colors are sharp. You pull them on, ready to attack the heavy bag or jump into sparring, and within minutes the honeymoon ends. Your knuckles burn. A blister forms on your thumb.
Your shins feel like they are rubbing against sandpaper. New gear can be brutally unforgiving, and the temptation to speed up the break-in process with shortcuts is strong. But those shortcuts almost always end badly, damaging the equipment you just invested in or tearing up your skin before a proper session even begins.
Here is how to break in your fight gear correctly, efficiently, and without ruining anything in the process.
The Golden Rule: Slow Is Fast

The most important principle in breaking in fight gear is counterintuitive. Rushing the process is the fastest way to destroy it. Leather and high-quality synthetic materials need gradual, repeated stress to mold to your body without compromising their structural integrity.
Think of breaking in gear like building calluses on your hands. You do not tear your palms open on day one and hope they heal stronger. You apply consistent, moderate pressure over time until the skin adapts. Gear works the same way.
The foam padding, the leather shell, and the inner lining all need to flex, compress, and recover repeatedly before they learn the shape of your body. This process cannot be condensed into a single aggressive session.
Gloves: The Most Delicate Break-In
Boxing and MMA gloves take the most abuse and require the most patience. A brand-new pair of gloves, especially genuine leather ones, will feel stiff. The fist pocket will be tight. The thumb will feel awkwardly positioned. This is normal.
What is not normal is soaking them in water, microwaving them, or beating them with a hammer. Yes, these are real suggestions circulating in gym culture, and they are all terrible. Water saturates the foam padding and leads to internal mold and degradation.
Heat warps the materials and breaks down the glue holding layers together. Blunt force trauma compresses padding unevenly and creates dead spots before the glove has ever seen a bag.
The Correct Approach
The correct approach is simple and boring. Wear your gloves at home for short periods while watching television or listening to a podcast. Put on your hand wraps first, just as you would for training. Make a fist, open your hand, repeat.
The heat from your hands and the gentle pressure of flexing will begin to warm the leather and foam, allowing them to gradually conform to your specific hand shape. Do this for fifteen to twenty minutes a day over a week.
Then introduce light bag work. Not power shots. Straight punches, slow combinations, focusing on technique and landing surface rather than force. Over the next several sessions, gradually increase power and volume. The padding will compress naturally and evenly. The leather will soften at its own pace without cracking. Your skin will adapt alongside the glove, reducing the likelihood of blisters.
Shin Guards: Conforming to Your Legs
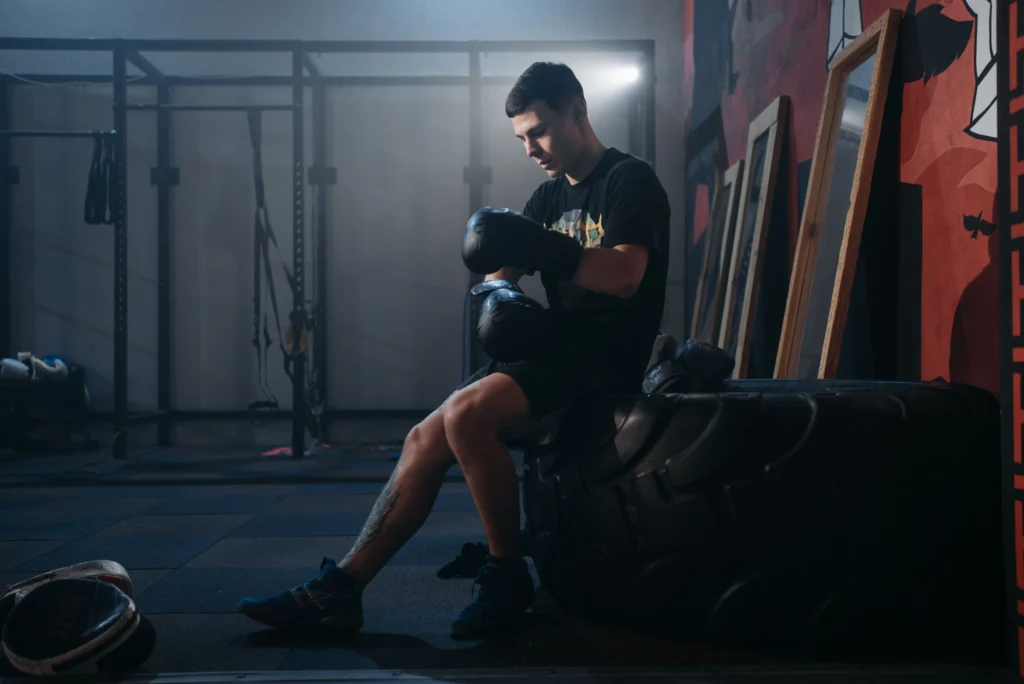
Shin guards, particularly the sleeve-style pull-on variety, present their own break-in challenges. New shin guards often feel restrictive behind the knee and stiff across the instep.
The interior fabric can chafe against bare skin, especially once sweat enters the equation. The break-in process here is less about softening the padding and more about teaching the guard to move with your leg rather than against it.
Headgear: Adjusting Without Over-Stretching
Headgear break-in is mostly about strap adjustment and cheek pad compression. New headgear often feels like it is squeezing your skull or sliding forward over your eyes. The solution is usually not brute force but incremental strap tuning.
Start with every strap loosened. Put the headgear on and tighten the top strap first, which controls how high or low the unit sits on your forehead. Then tighten the rear strap, ensuring the back of the headgear cups your skull without digging in. The chin strap comes last and should be snug but not restrictive to breathing.
The Blister Prevention Kit
Even with the most careful break-in, hotspots happen. Prepare for them proactively. Keep athletic tape in your bag and pre-wrap any area you know is prone to rubbing, typically the thumb knuckle, the outside edge of the palm, and the back of the heel for shin guards.
A thin layer of tape applied before a session prevents friction blisters without altering glove fit. If a blister does form, clean it, cover it, and let it heal before your next session. Training on an open blister is painful, unhygienic, and prolongs the very discomfort you are trying to escape.
The Long Game
Breaking in fight gear is not a chore to rush through so the real training can begin. It is the very first phase of that training. The fighter who respects the process arrives at their first real sparring session with gloves that feel like an extension of their hands, shin guards that move silently with their legs, and skin that is intact and ready for work.
That quiet confidence, the absence of distraction, is worth every patient minute spent preparing. Treat your gear with care from day one, and it will return the favor every single time you step into the gym.
Frequently Asked Question
Q1. Are you supposed to break in boxing gloves?
Quality gloves also reward patience. When the padding is built to protect and last, it should not collapse in a few sessions. Break them in with intention, keep them dry, and your gloves stay reliable through months of boxing training and hard gym work.
Q2. How do pros break in their gloves so fast?
Speaking further with players and staff, it became clear that glove care methods vary widely. Some use hot water to soften the leather, others steam it, cool it, even freeze it. Some hammer it with wooden mallets, while others toss it in a clothes dryer.
Q3. How to Break in New Boxing Gloves Without Hurting Your Hands?
- Step 1: Always Wrap Your Hands.
- Step 2: Start with Bag Work, Not Sparring.
- Step 3: Ease Into It Gradually.
- Step 4: Manually Flex and Open the Gloves.
- Step 5: Keep Them Dry, Clean, and Conditioned.